Build one game prop from rough block to engine-ready file, and learn what “done” means at every step.
This is the section guide for asset creation, not a single tutorial: it lays out the order of work for one prop as a solo developer and tells you where each step’s detail lives.
You will not find a full sculpt or a full texture bake here. You will find the sequence, the decisions at each stage, and a clear finish line for each one. The tutorials on this site fill in the clicks.
Pick one prop
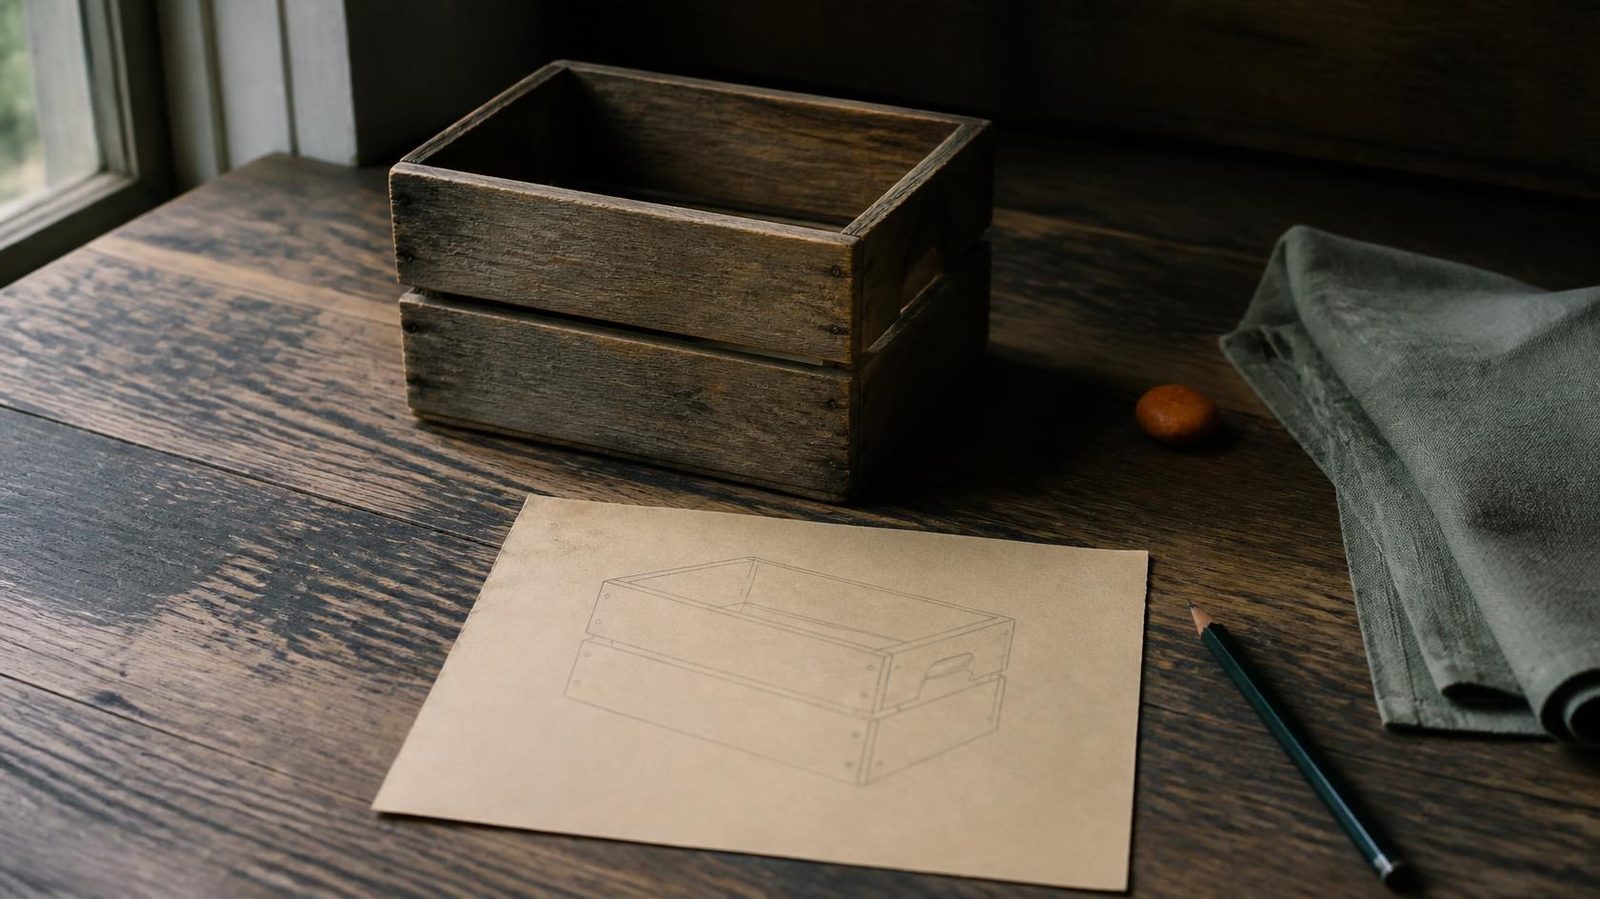
Choose something small and useful in your game. A crate, a lantern, a stool, a barrel. Not a character, not a vehicle, not a building.
Write down three things before you open any software:
- Where it sits in the game. On the floor, on a shelf, in the player’s hand.
- How close the camera gets. This decides how much detail is worth making.
- What the player does with it. Looks at it, bumps into it, picks it up, breaks it.
Those three answers guide every step below. If the camera never gets close, you do not need fine surface detail. If the player never touches it, collision can be a single box.
The tools, briefly
Three tools come up often in solo pipelines.
Blender is a general 3D application. You can block, model, sculpt, unwrap, texture, and export in it.
ZBrush is a digital sculpting application, used for organic and high-detail surfaces.
Substance 3D Painter is a texture painting application that paints directly onto 3D models.
You do not need all three. Many solo developers finish props entirely in Blender. Use another tool only when a prop needs something your current tool does poorly. Menus and features in all three change between versions, so when a step below names a tool, check the current official manual for the exact location.
Step 1: Block it
Start with simple shapes. Boxes, cylinders, spheres. Get the size and silhouette right in your 3D tool.
Set your scene units to match your engine before you begin. Put a simple reference object, like a human-height box, next to your prop so you can judge scale.
Done means: the prop reads as the right object from the game camera’s distance, at the right size, using only primitive shapes. You could drop this block into your game as a placeholder today.
Do that. Export the block and put it in the engine now. Seeing it in the real scene catches scale problems before you spend hours on detail.
Step 2: Model or sculpt only as far as the prop needs
Now refine the shape. You have two broad paths.
Model it if the prop is hard-surfaced: planks, metal, flat panels. Work the block into the final form with edges and faces in Blender.
Sculpt it if the prop is organic or worn: carved stone, a gnarled root, a bag of grain. Sculpt the detail in ZBrush or Blender’s sculpt mode, then build or generate a lighter mesh for the game.
Either way, stop when the prop holds up at the closest camera distance you wrote down. There is no ideal triangle count to hit. The right amount is whatever your game and target hardware handle comfortably, and you find that by testing in your engine, not by reading a number online.
Done means: the shape matches your sketch from the game camera, the mesh is clean enough to unwrap, and you have saved a separate file of any high-detail version you plan to bake from.
Step 3: Unwrap
Before you texture, the mesh needs UVs: a flat layout that tells the engine where each part of the texture goes.
Keep it simple. Mark seams where they will be hidden, unwrap, and check for stretching with a test pattern. The Blender manual covers unwrapping in its UV section.
Done means: a checker pattern looks even across the prop with no obvious stretching on surfaces the player will see.
Step 4: Texture
Now give the prop its surface. You can paint in Blender, use Substance 3D Painter, or start from a material you are allowed to use.
If you sculpted detail, this is where you bake it onto your game mesh. The baking steps differ by tool and version, so follow the current official documentation for your tool rather than an old video.
Keep the texture set to what your engine’s material expects. Most engines today use a physically based setup, but check your engine’s manual for the maps it wants and how it names them.
Done means: the prop looks right inside your engine, under your game’s lighting, at the game camera’s distance. Not in the painting tool’s viewport. In the game.
Step 5: Give it collision
The visible mesh and the shape the physics system uses are often different things. A collision shape is usually much simpler.
Go back to what the player does with the prop:
- Never touched: it may need no collision at all.
- Bumped into: one box or a few simple shapes around it.
- Picked up or thrown: a simple convex shape that fits it closely.
Some engines generate collision on import. Others expect you to model a separate simple mesh with a naming convention. Your engine’s manual explains which, and the convention changes between engines, so check it rather than guessing.
Done means: the player and other objects stop where they should, nothing snags on invisible edges, and nothing falls through.
Step 6: Export a file the engine can import
Export from your 3D tool in a format your engine supports. Common choices include FBX and glTF, but your engine’s manual is the final word on what it accepts and which settings it expects.
Before exporting, apply transforms, check that the prop’s origin sits where you want it to pivot, and name things clearly. Then import into your engine with the textures and collision.
Done means: you can delete the prop from the engine, reimport it from the exported file, and it comes back with the right scale, orientation, materials, and collision without manual fixing.
The finish line for one prop
Your prop is done when all of these are true:
- It sits in your game at the right scale.
- It looks right from the game camera under game lighting.
- It collides the way the player expects.
- It reimports cleanly from a single exported file.
- You saved the source files in a folder you will find next month.
Then make the second prop. It will be faster, because you now know the order.
Where to go next in this section
The site has step-by-step posts for each stage: building a first low-poly prop in Blender, a first stroke in ZBrush, texturing in Substance 3D Painter, and moving models into Unity, Unreal, and Godot. Pick the one that matches the step you are stuck on. Do not read them all before starting. Make the block first.