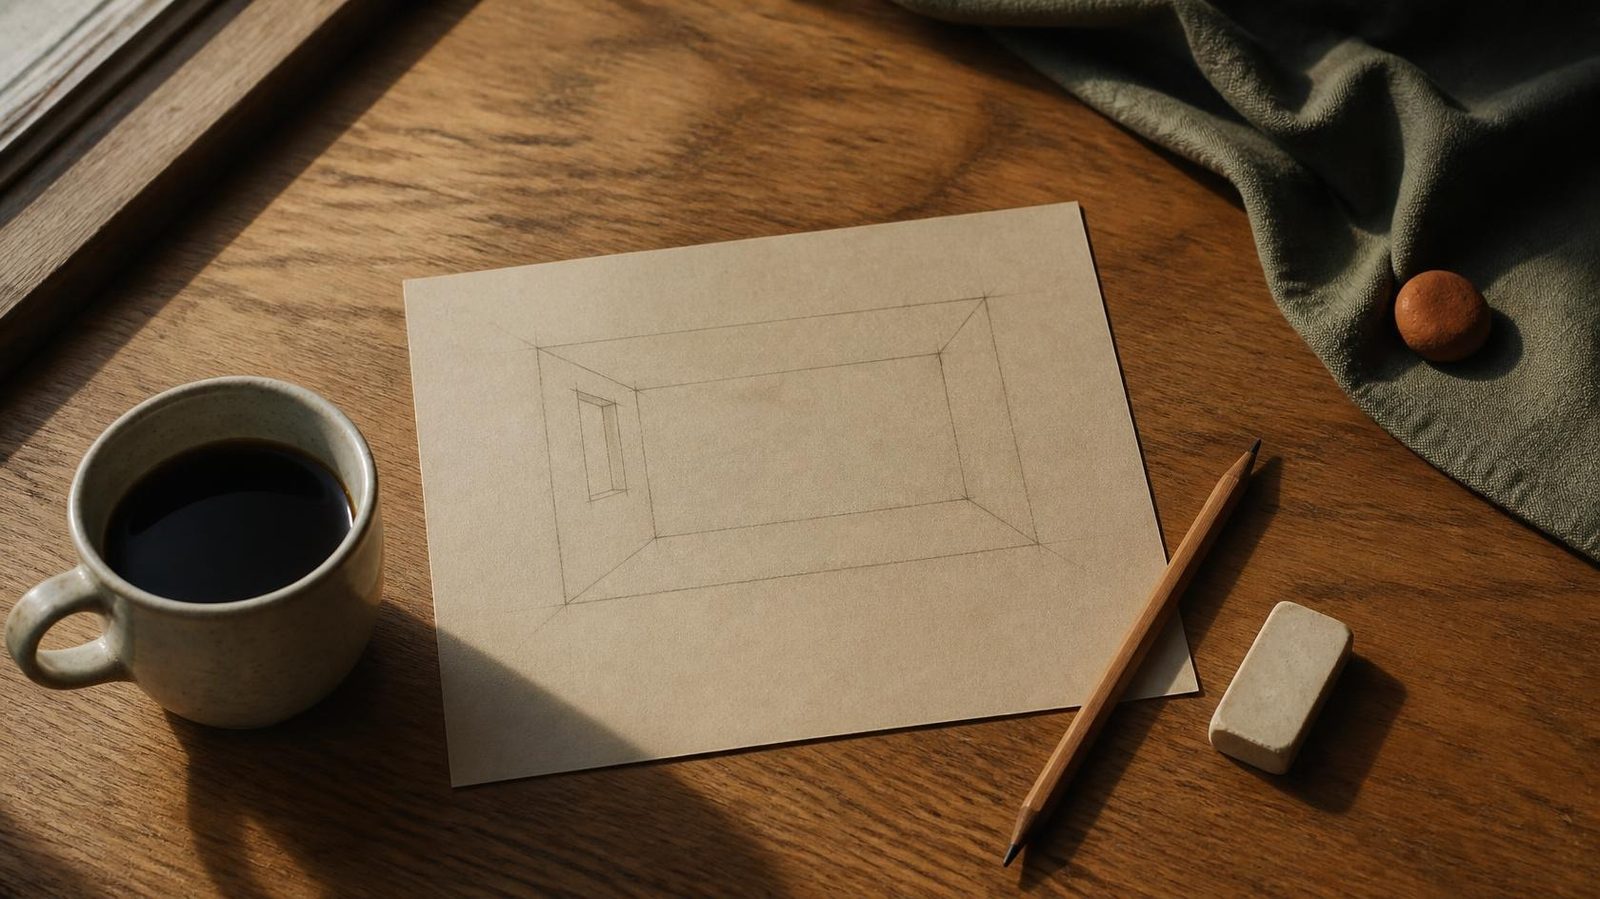
Design one small game on paper first, with a verb, a room, a fail state, one menu check, and one playtest note, and only then open an engine.
This is the section guide, not a single tutorial. It lays out the order of work for a solo developer and points you to the pages in this section that go deeper on each step. You will not fill in a design document here, and you will not get a printable playtest form. Both of those already exist as separate pages. This page is the map that tells you which one to open, and when.
The section covers game design, level design, storytelling, UX and UI, and the development pipeline from idea to build. That list sounds huge. For a solo dev, it shrinks to a handful of small decisions you can make in order, one at a time.
Why paper comes before the engine
An engine invites you to build everything at once. You open it to test one jump and an hour later you are picking a font for a title screen that does not need to exist yet.
Paper is slower in a useful way. Erasing a wall costs you a second, so you try more versions. You also cannot hide a weak idea behind nice lighting. If the game is not interesting as pencil marks and a finger moving across a page, a shader will not rescue it.
So the first rule of this section is simple. Design one small game on paper before you touch Godot, Unity, Unreal, GameMaker, or Roblox Studio.
The five pieces of a small game
Every page in this section ties back to five pieces. You need all five before you have a game, and you need only one of each to start.
A verb. What does the player do? Jump, push, open, dodge, collect. Pick one. Write it at the top of the page. If you catch yourself writing three verbs, cross out two and save them for later.
A room. Where does the verb happen? One space with an entrance, an exit or goal, and something in the way. One room, not a level, not a world.
A fail state. How can the player lose, or at least not win yet? Falling into a pit, running out of time, getting caught. Without a fail state the verb has no weight.
One menu check. The player needs a way to start, pause, or retry. You do not need a full interface. You need to know that one screen is readable and reachable.
One playtest note. Someone other than you tries the paper version, and you write down one thing they did that you did not expect.
A practice exercise: the door and the key
Here is a sketch to practice on. It is an exercise, not a finished game, and you should change it as soon as you have your own idea.
- Verb: pick up.
- Room: a square room with a locked door on one wall and a key on a table in the far corner.
- Obstacle: a patrol path that crosses between the entrance and the table.
- Fail state: if the patrol touches you, you go back to the entrance.
- Goal: carry the key to the door.
Draw it. Use a coin for the player and a paper clip for the patrol. Move the patrol two squares each time you move one square. Within a few minutes you will know whether the room is too easy, too hard, or just flat. That is the whole point of the exercise.
A practical week for a solo dev
You do not need to follow this to the day. It is an order of work, and it fits into short sessions after a job or school.
Day 1: Pick the verb. Write five possible verbs. For each, ask what the player would do with it in a single room. Keep the one that gives you the most ideas for obstacles. Stop there. Do not design menus or story today.
Day 2: Draw the room. Block out one room on paper with an entrance, a sightline, one obstacle, and one goal. The paper room blockout page in this section walks you through it step by step, including how to test it with a pencil.
Day 3: Add the fail state. Decide what happens when the player gets it wrong, and what it costs them. Sending them back to the start of a small room is fine. Write the rule in one sentence under your drawing. If you cannot fit it in one sentence, simplify it.
Day 4: Add a reason. This is where storytelling enters, and it should stay small. One line that explains why the player wants the goal is enough. “The key opens the way out” is a story. The narrative design article in this section goes further when you are ready.
Day 5: Check one menu. Sketch the one screen the player sees before or after the room, usually a start or retry screen. If you already have something on a device, the one-menu check page shows you how to test a single menu using a photo of your own screen. Check that the text stands out and that the buttons are easy to reach.
Day 6: Run one playtest. Hand the paper to a friend, a family member, or someone in a dev community. Explain the verb and the fail state, then stay quiet. Watch where their finger goes. Write one note. The indie playtesting article and the playtest notes sheet in this section cover how to run a session and record what you see.
Day 7: Decide and open the engine. Read your note. Change one thing on paper. Then, and only then, pick an engine and rebuild the room with plain boxes. The engine comparison and beginner pages in this section help with that choice.
Where the bigger topics fit
The section nav lists level design, storytelling, UX and UI, and the full pipeline. Here is how each one maps to the week.
Level design starts as the single room on Day 2. When one room works, you add a second room that teaches the same verb with a new twist. The AI level design article covers generating layout options once you have a room you trust.
Storytelling starts as one sentence on Day 4. It grows when your rooms start to suggest a place and a reason to keep going. Resist writing lore before you have a second room.
UX and UI start as one menu on Day 5. The rest of the interface comes later, as you discover what the player actually needs to know while playing.
The development pipeline begins on Day 7. Once your paper game survives a playtest, a game design document helps you hold the growing list of rooms, rules, and assets in one place. The game design document page in this section gives you a template. Use it after the paper game, not before.
Common ways this goes wrong
You add a second verb on Day 1. Cut it. One verb tested well beats three that never got tested.
You skip the fail state because losing feels unfriendly. A gentle fail state is still a fail state. Without one, the player has nothing to avoid.
You explain the game during the playtest. Every sentence you say hides a problem the player would have found. Explain the rules once, then watch.
You open the engine on Day 2 “just to check something.” Close it. You will get there on Day 7 with a much clearer idea of what to build.
How to use the rest of this section
Treat this page as your starting point whenever you begin a new small game. Come back to it when you feel lost in a project and ask which of the five pieces is missing or unclear.
Then go to the specific page you need: the paper room for layout, the menu check for readability, the playtest pages for feedback, and the design document when the project grows past one room.
Start with one verb today. Write it at the top of a blank page. Everything else in this section builds from there.