How to Create Low-Poly Game Assets in Blender (Step-by-Step)
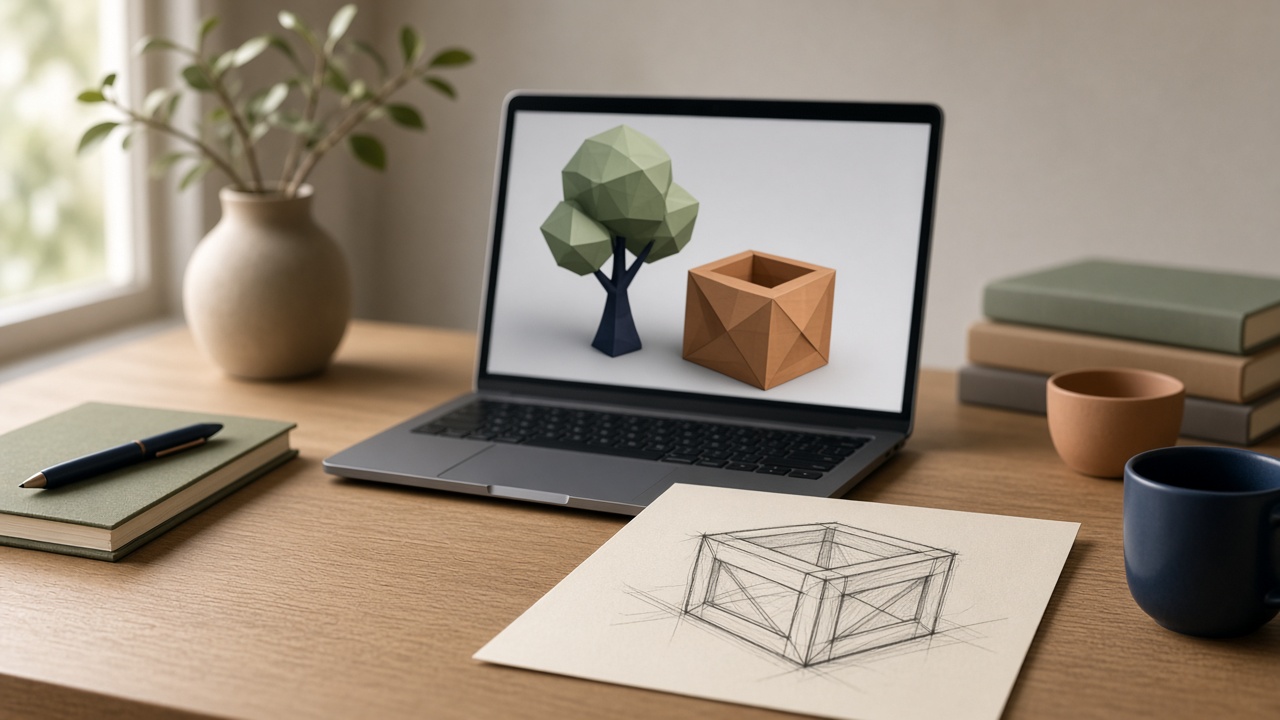
Low-poly game art is a set of choices, not a lack of skill. You decide how many triangles an object may cost, then you spend them on a readable silhouette and a few planes that catch light. This guide walks a solo developer through one prop, from an empty Blender file to a mesh you can import into a test scene. One crate, barrel, or lantern is the right scope. It is not a finished asset pack, and it is not a commercial game.
Blender’s interface moves between versions. If a menu name here does not match your screen, search the official Blender manual for the operator name instead of trusting an old screenshot.
Write the rules before you model
Open a note and answer three questions.
What is the object, and how large will it appear in game? A background crate seen from twenty meters away does not deserve the same mesh as a weapon held in front of the camera.
What triangle budget are you allowing yourself? Pick a number you can explain for this prop. Do not borrow a “standard” from a chart you cannot verify. Write the number down and treat it as a ceiling.
Does the object deform? A static crate can use almost any topology. A hinge, a cloth flap, or a character needs edge loops where it bends. If you are new, choose a rigid prop so you can finish the export loop.
Also name the engine you will test in. Blender’s default unit is the meter, while some engines work in centimeters and Unity projects vary. Reconcile scale at export or import, not by randomly scaling the mesh after it looks wrong.
Block the silhouette with almost nothing
Start a new General file. You can keep the default cube or delete it and add a primitive that is closer to the prop: a cube for a crate, a cylinder with few sides for a pot, a cone for a roof.
Stay in orthographic view while you block proportions. Perspective is useful later, but it hides scale errors while you are still blocking.
Model with as few vertices as the shape allows. A cylinder with eight or twelve sides can read as round if the camera never sits an inch from it. Extrude faces to grow handles, lids, and legs. Inset a face when you need a rim. Bevel a corner with one segment when you want a highlight along an edge. Skip the Subdivision Surface modifier if you want a faceted style. Subdivision is for smooth surfaces, and it spends triangles quickly.
Shade the mesh flat while you block. Sharp crate corners should stay sharp. If a surface should look continuous, use your version’s smooth-by-angle control. Older releases call a related option Auto Smooth, and newer ones name it differently, so check the manual, then confirm the result in the engine.
Turn on the viewport statistics overlay so you can see triangle count while you work. The overlay’s exact checkbox name changes by version, so use the manual if you cannot find it. Every time you add a strap, a nail, or a plank gap, look at the count. If you crossed your ceiling, delete a detail before you add another.
Spend faces where the eye lands
Orbit the prop at the distance the player will actually see it. Zoom out until it is small. If you cannot tell what it is, the silhouette is the problem, not the texture.
Add detail in this order:
- The outer shape, including anything that sticks out: a handle, a spout, a broken board.
- Large plane changes that catch light, such as a lid that is not flush with the box.
- A few medium cuts: a metal band, a crack, a step in a roof.
- Almost no micro detail. Bolts, scratches, and wood grain belong in a texture or in the lighting, unless the camera will fill the screen with that bolt.
Keep faces quads while you edit, if you can. Quads are easier to change tomorrow. Triangles are fine on export. Ngons on flat faces are sometimes acceptable on a static prop, but they can triangulate in a way you did not expect. If a face looks warped, cut it into quads before you export.
Use a Mirror modifier for anything symmetric, and apply it only when the two sides should diverge. An unapplied scale is a common export bug. When the prop is the size you want, apply scale and rotation so the engine inherits a clean transform. Leave the origin where the object should pivot: the bottom center of a crate, the hinge of a door, the grip of a tool. Do not leave the origin at the world center if you slid the mesh away from it.
Color and UVs without a huge texture
A low-poly prop often looks best with a small palette. Two honest options for one person:
Assign a few solid materials, one color each. This is fast, matches a faceted look, and avoids texture memory. The limit is that weathering has to be modeled or skipped.
Or unwrap the mesh and paint one small image. Mark seams where a real object would hide a cut: under a lid, behind a handle, along an inside corner. In the UV editor, give more space to faces the camera sees and less to bottoms and interiors. Do not start from a giant photo. A photo of real wood fights a twelve-sided barrel and costs memory you may need on mobile.
If you paint, keep the texture size modest and test it in game. A huge texture on a background crate is usually wasted.
Recalculate normals so they point outward before you trust any bake or any engine preview. Inward normals show up as black or inside-out faces after import. Merge vertices that occupy the same point so you do not carry invisible doubles. Use a very small merge distance, or you will collapse a real gap. Delete interior faces that the player can never see. They cost triangles and can flicker.
Name the object in a way future you can search, such as prop_crate_01, not Cube.004. Save the blend file. The blend file is the source. The exported file is something you can regenerate.
Export, then judge it in a blank scene
glTF, usually as a .glb, is a practical default when the engine docs support it, including many Godot and Unity setups. FBX is the usual choice when a pipeline already expects FBX, which is common in Unreal projects. Follow the importer notes in your engine’s current manual if the two disagree with this article.
In the exporter, export the selected prop rather than the camera and the light. Check the forward and up axes if the prop comes in lying on its side. An axis mismatch is an export setting, not a reason to rotate random parents inside the game.
Import into an empty test scene with a ground plane and one directional light. Orbit the prop. Look for inside-out faces, a pivot at the wrong end, scale that is off by a hundred, and smoothing that turns a crate into a pillow. Fix those in Blender and export again. Do not stack engine-side hacks on a mesh you can still edit.
Stop at a matching set
When the first prop looks right under your own budget, make a few siblings with the same palette and the same rules: a barrel, a sack, a short post, a lantern. A small consistent set is more useful than one object with a hundred extra edges.
This pass does not cover a rig, a level-of-detail chain, or trim sheets for a city. If the prop reads from the play camera and stays inside the triangle number you wrote down, you have done what this tutorial is for.