ZBrush to Unreal Engine Workflow
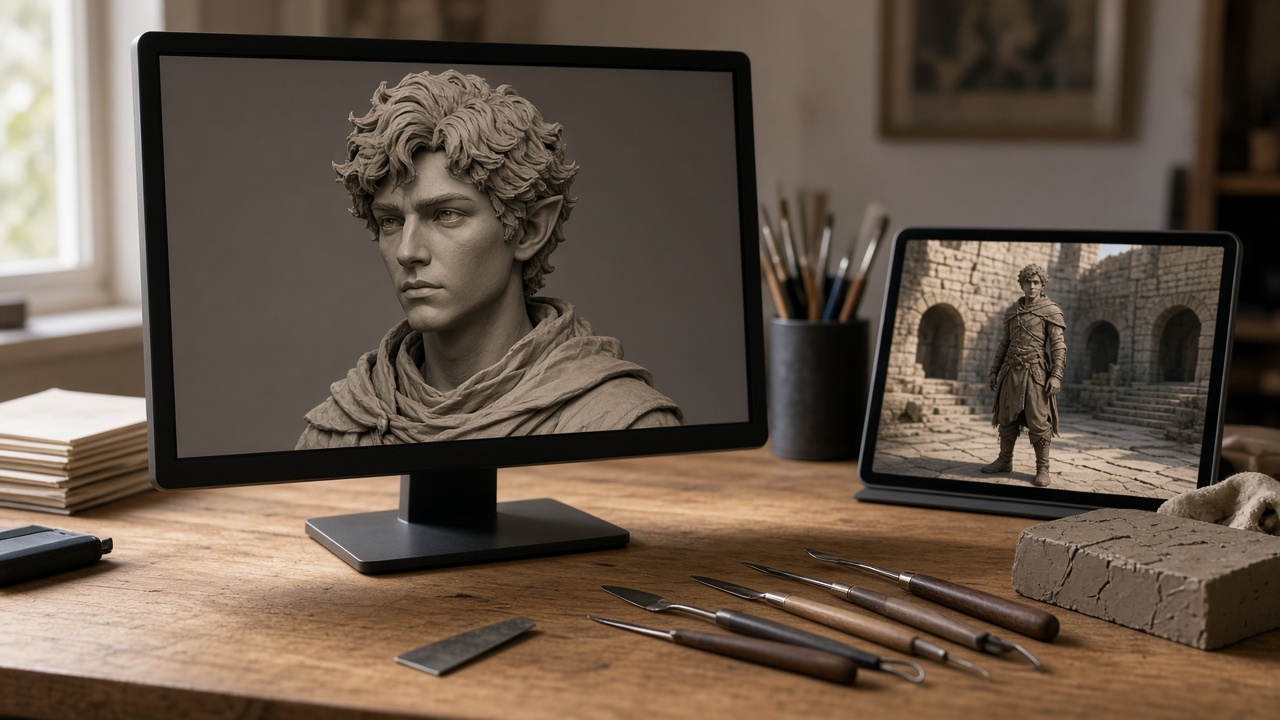
ZBrush is where a form gets its volume and surface detail. Unreal Engine is where that form has to draw every frame, collide, and sometimes deform. This workflow takes one asset from a finished sculpt to a placed actor in a test level. Do one statue, prop, or simple character. Do not plan a whole cast, and do not treat a successful import as a shipped game.
Menu names in both tools change. If a button here does not match your version, search the current Maxon ZBrush docs or the current Unreal docs for that feature. This article does not quote license prices. Check Epic’s current Unreal Engine license terms yourself before you ship a commercial project.
Decide static or skinned before you export
A static environment piece and a skinned character do not want the same mesh.
For a statue, a rock, or a piece of armor on a wall, Unreal can often use a denser mesh, including Nanite on static meshes when your project has Nanite enabled and your target hardware supports it. Read the current Nanite docs for limits. Nanite does not remove the need for a sensible material, a pivot, or collision.
For a character that bends, the game mesh still needs deformation-friendly topology: edge loops at shoulders, elbows, knees, and the face if it animates. A raw sculpt is usually far too dense and too uneven to skin well. Check the current skeletal mesh docs before you assume a high-detail feature that works on static meshes also applies to characters. If the docs say a feature is experimental or limited, believe the docs.
Also decide scale. Unreal’s default unit is a centimeter. A person who should be about life-size needs to arrive near that height, not as a mountain and not as a speck. ZBrush itself is easy to treat as unitless. Measure in the tool you export from, or measure immediately after import and fix the export scale. Do not “fix” a hundred-times scale error by scaling the actor differently in every level.
Make a game mesh and a detail map
Keep the high-resolution sculpt. Then build a lighter mesh that will actually be placed in the level, unless you have confirmed that your static-mesh path can use the sculpt more directly.
A practical solo route:
- Duplicate the sculpt so you can always return to it.
- Rebuild a cleaner mesh with ZRemesher, or retopologize in another tool you already use. ZRemesher’s polygon target is a guide, not a promise. Inspect the result around fingers, horns, and thin cloth.
- Give that mesh UVs with enough space on the parts the camera sees. Overlapping UVs are fine only where the surfaces can share identical detail, such as mirrored metal that does not need unique wear.
- Bake a normal map from the high sculpt onto the game mesh. ZBrush can create a normal map from the Tool palette’s normal-map controls, including a tangent-space option. You can also bake in another tool if you prefer. What matters is that the low mesh and the high mesh occupy the same space when you bake, or the map will smear.
Look at the normal map on the game mesh before you leave ZBrush or your baker. Silhouette details, such as a spike or a coat hem, must exist in the real geometry. A normal map only changes how light hits the surface. It cannot add a shape that sticks out past the mesh.
Export an FBX for Unreal. Maxon’s FBX export plugin is the usual path from ZBrush. Export the game mesh, not an accidental copy of every subdivision level. If you are sending a character, export it in a bind pose you can explain later, usually a simple A-pose or T-pose, with a skeleton if you already rigged it. If you have not rigged it, import it as a static mesh first. Rigging is a separate session.
Import into an empty Unreal project
Use a blank project or a blank map so you are not debugging someone else’s materials. Drag the FBX in, or use the content browser import. For a prop, import as a static mesh. For a rigged character, import as a skeletal mesh and confirm the skeleton looks right in the preview.
On the static mesh or skeletal mesh editor, check:
- Scale. Measure the asset against a known reference, such as the default mannequin if you are using one, or a simple cube you sized on purpose.
- Normals. If the surface looks inside out or the lighting crawls, the normal map’s green channel may be flipped relative to what Unreal expects. ZBrush and Unreal both have options to flip channels. Flip one side, not both, and look again.
- Materials slots. Name them in a stable way before export so reimports do not scramble slots.
Build a material that is only as complex as the asset needs. A typical game surface uses a base color, a normal map, and roughness, with metalness where the surface is actually metal. Pack textures if your project already has a packing convention. If it does not, separate maps are easier to debug on the first asset. Set the normal map texture to the normal-map compression type your version documents, or the detail will look soft or blocky.
Do not copy a master material from a random sample pack until this simple material looks correct. When the simple one works, you can fold it into your project shader.
Collision, pivot, and level placement
A pretty mesh with wrong collision is not done. For a statue, use a simple collision shape or a small set of boxes if players only need to not walk through it. Complex collision that matches every sculpted fold is expensive and usually wrong for movement. Unreal can generate simplified collision on static meshes. Read the current collision docs for the generators in your version, then walk a character into the object.
Put the pivot where level design needs it. A statue’s pivot at the base, centered, lets you drop it on a floor. A pivot in the middle of the torso makes it sink. Fix the pivot in the mesh tool or in the export, then reimport. Avoid per-instance hacks as your standard.
Place the asset in a test map with the lighting setup you actually use. A sculpt that looked dramatic in ZBrush can look flat under an unlit preview, or noisy under a normal map that is too strong. Lower the normal intensity before you conclude the bake failed. Rotate the object under a directional light and watch for seams along UV islands. Seams mean the bake, the UV padding, or the tangent basis needs another pass.
If you reimport, keep the same asset name and path so Unreal updates the mesh in place. Save the ZBrush tool and the bake files next to your notes about export scale. Future you will not remember the scale factor.
A character still needs a second mile
If the asset is a character, a successful static import is only the start. Skin the game mesh, test extreme poses, and only then invest in facial detail. A normal map will not rescue a shoulder that collapses when the arm lifts. Import animations only after the bind pose is stable.
Nanite, Lumen, and virtual shadows can make a static sculpt look impressive. They also ask for hardware headroom and project setup you should verify in the current docs. Turn them on for this test asset only after the mesh, scale, normals, and collision are correct. Otherwise you will blame the renderer for an export mistake.
Stop when one asset sits in a test map at the right size, with believable lighting, collision you can walk into, and a source file you can re-export. A second asset that follows the same steps is worth more than a new tool in the chain. The pipeline is the repeated part, not the first successful drag-and-drop.