ZBrush to Unity Workflow for Game Characters
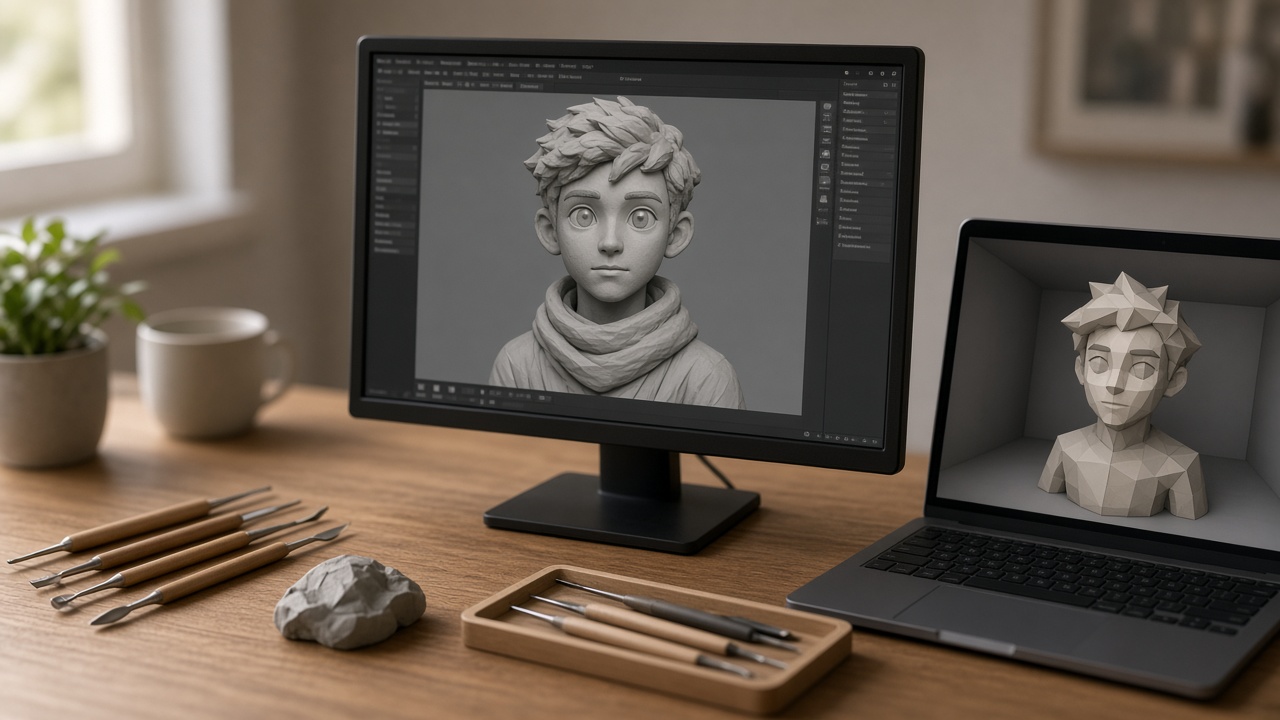
A ZBrush character is a sculpture. A Unity character is a skinned mesh, materials, and an avatar that an Animator can drive. This workflow connects those two for one humanoid or creature, ending in a prefab you can drop into a test scene. It does not rig a face for a cinematic, and it does not ship a game. One character that stands at the right scale and bends an arm is the finish line.
ZBrush and Unity both rename menus. If a control does not match, use the current Maxon docs or the current Unity manual. This article does not quote Unity’s license prices. Check Unity’s official terms yourself if you plan to release commercially.
Separate the sculpt from the mesh Unity will skin
Do not export the highest subdivision as the character Unity animates. Dense, uneven topology skins poorly and costs more than a game character needs. Keep that sculpt. Create a lighter mesh for the game.
Duplicate the tool first. Use ZRemesher, or retopologize elsewhere, until you have quads that flow around joints: shoulders, elbows, wrists, hips, knees, and the mouth if it will deform. Fingers need enough loops to curl, or you should pose them in a simpler style and avoid close-ups. ZRemesher’s target count is only a starting suggestion. Judge the mesh in a test pose, not by the number alone.
Bake the normal map from the high sculpt onto the game mesh while they occupy the same space. ZBrush’s normal-map tools can write a tangent-space map. You can bake in another program if you already have one. The map cannot replace real silhouette. Ears, a coat tail, and a weapon that sticks out must be geometry.
Give the face more UV space if the camera sits there, and leave padding between islands so the normal map does not bleed.
Export FBX from ZBrush’s FBX tools, using the game mesh. Export a bind pose you can reason about. An A-pose is usually kinder to shoulders than a strict T-pose, but either works if you stay consistent. If a skeleton already exists in another tool, export that skin. Unity will not invent a production skeleton from a raw sculpt.
Import with scale and normals under control
Use a test project, or an empty folder in your current project, so a bad import is easy to delete. Copy the FBX and the textures into Assets. Unity will generate a material attempt on import. Treat that material as temporary until you have checked the mesh.
Select the model and open the Model tab of the importer. Unity projects typically treat one unit as one meter. Many FBX files arrive in centimeters, so a character can import enormous or tiny. There is a scale factor on the importer. Use it, or fix scale at export, until the character is the height you want next to a 1-meter cube. Apply the import. Do not scale the prefab instance to compensate and then forget. A wrong root scale breaks physics, audio distances, and every future animation.
On the same importer, look at normals and tangents. If the character looks faceted in a way you did not sculpt, try the documented option to calculate normals, then try importing them from the file, and keep the one that matches the sculpt. If a normal map looks inverted, green-channel direction is the usual suspect. Unity’s texture importer has a normal-map type and a flip-green style option depending on version. Flip once, in one place, and look at the lit result. Do not stack a fix in ZBrush and another in Unity without checking, or you will flip twice and be back where you started.
Set the normal map’s texture type to a normal map so Unity compresses it as one. A normal map left as a default color texture looks soft or wrong under light. Albedo, roughness or metallic maps, if you have them, stay ordinary color or mask textures. Confirm the swizzle and color-space notes in the current importer docs, because those checkboxes move.
Materials that match your render pipeline
Use the lit shader that belongs to the pipeline already in this project. A Built-in Render Pipeline project usually shades characters with the Standard shader. A Universal Render Pipeline project uses the URP Lit shader. Mixing those up produces pink or flat materials, which is a pipeline mismatch, not a bad bake. The current render-pipeline manual names the shader if you are unsure which pipeline you created.
Assign maps one at a time: base color under a directional light, then the normal map, then roughness. Cloth should be rougher than jewelry. Leave metal at zero except on parts that are actually metal.
Name material slots in the source mesh in a stable way, such as m_body and m_eyes, so reimports do not reshuffle them. Save your own material assets. Do not keep editing the auto-generated importer material if Unity will overwrite it. The manual for your version explains when extracted materials survive a reimport.
Rig, avatar, and a prefab
Open the Rig tab. For a standard humanoid skeleton that matches Unity’s expectations, you can choose the Humanoid animation type and configure the avatar. Map bones in the avatar definition and watch for required bones marked missing. If the mapping is a mess, the skeleton is not a humanoid Unity recognizes. Use a Generic rig instead, especially for creatures. Generic still animates. It just does not share humanoid clips across characters. Check the current humanoid requirements in the docs rather than forcing a tail into a human slot.
If you have an idle clip made for this skeleton, hook it to a simple Animator Controller. Do not drop in a random humanoid clip and hope the skeleton matches. A mismatch distorts the character.
Make sure the mesh shows a Skinned Mesh Renderer, not only a static Mesh Renderer, once it is rigged. Static import is acceptable as a first scale check. It is not a character.
Drag the configured model into a test scene, then drag that instance into the project to make a prefab. The prefab is what gameplay should spawn. Put the collider on the prefab in a simple shape, such as a capsule, rather than using the render mesh as a collider. A sculpted coat as a collider is noisy and expensive.
Reimport without losing the setup
You will export again. Keep the FBX name and path stable so Unity updates the same asset. After each reimport, check scale, the avatar mapping, and that your extracted materials are still assigned. Change export settings in a note next to the file: which subdivision you exported, which scale you used, and whether the normal map’s green channel was flipped.
If the arm collapses when it lifts, that is topology or skin weights, not a Unity lighting bug. Fix weights in the tool you rigged with, or in Unity’s skinning tools if you use them, then test the extreme pose again. Do not hide a bad shoulder under a thicker normal map.
Stop when the character prefab is the right height beside the meter cube, the normal map responds to the directional light without inverted pores, and one joint bends without exploding. A second character should follow the same note, not a new improvised scale. A finished commercial hero, with a full animation set and facial performance, is a later production. This pass only proves the road from ZBrush into Unity is one you can repeat.