Unreal Engine 5 Niagara VFX Tutorial
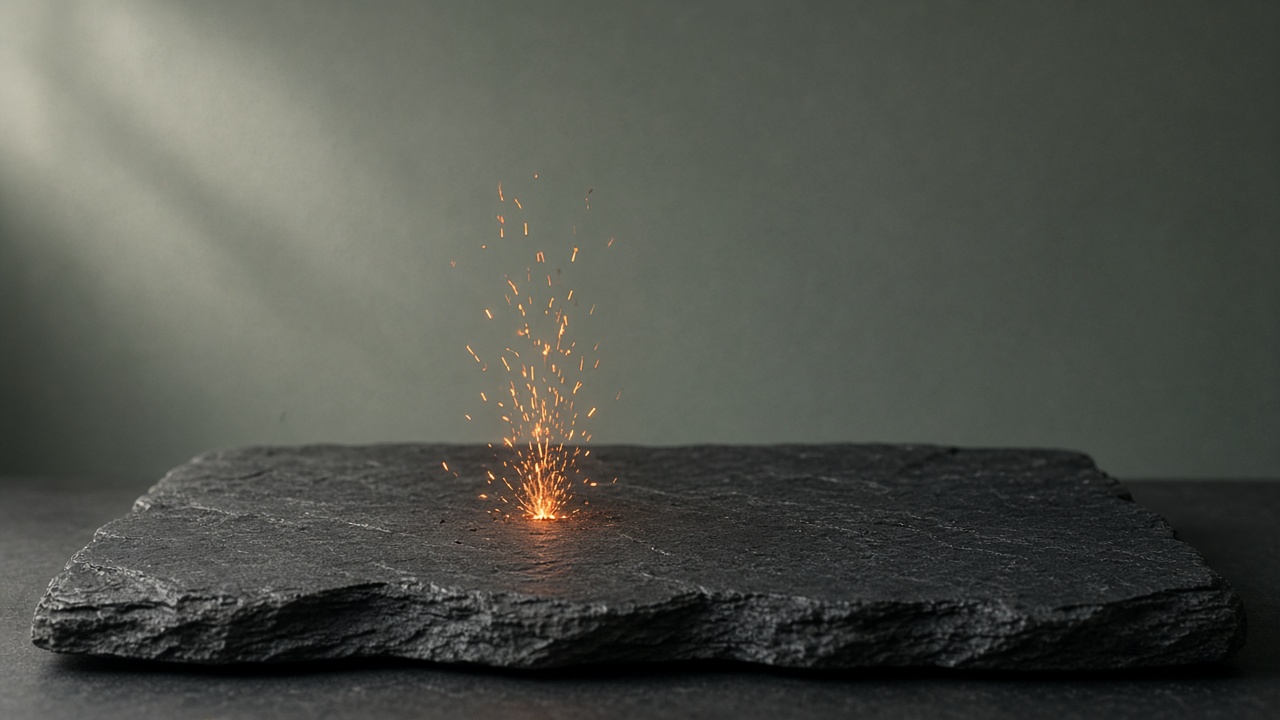
Niagara is Unreal’s particle system. This tutorial builds one small effect: a burst of sparks that rise and fall, like a hit on stone or the pop of a campfire, and then fade. You will use one emitter, a handful of modules, and a user parameter you can set on an actor. There is no performance comparison and no “GPU is faster” claim. Sprite sparks are simply the right first effect because you can see them.
Unreal renames modules and moves editor tabs between versions. If a stack entry below is missing, search the Niagara documentation for your installed engine rather than forcing a tutorial screenshot. The ideas are stable even when the labels move: spawn, initialize, update, render.
Make an empty system
In the Content Browser, create a Niagara System. Template names change. Pick an empty system if it is offered, or a simple sprite system and delete modules you do not understand yet. Open it. You want one emitter, not a library of presets you have not read.
Name the emitter Sparks. Set it to burst rather than spray forever. The module is often called something like Spawn Burst Instantaneous. Confirm the name in your stack. A burst of a few dozen particles is enough to judge motion. If you cannot see them, the count is not the first problem. Lifetime, size, and color are.
Initialize, push, and pull
Initialization sets lifetime, size, color, and where the particle starts. Use a small sphere or shape location so they do not all spawn on one point. Give them a short lifetime so the burst ends and you can trigger it again. Size should be large enough to see in the preview and small enough to read as sparks, not as balloons. There is no correct pixel size in this article. Look at the preview next to a default mannequin or a 2-meter cube if you need scale.
Add a velocity module so the sparks leave upward and a bit outward. Then add gravity so they arc and fall. Those two modules are the whole motion design. If your build splits “add velocity” into several modules, use the one that sets an initial velocity and leave the exotic ones alone.
Particle state, or whatever your version calls the module that kills a particle at the end of its life, should be on. A spark that never dies will fill the preview until you cannot see the next burst.
Color should change over life. Start warm, end darker and more transparent. The curve editor’s location in the UI moves. You are looking for a color or scale-color module driven by normalized age. If transparency does nothing, check that the material or renderer actually uses the particle color. A default sprite material usually does. A random opaque material will not.
Renderer: sprite. Mesh renderers are for chunks of debris later. A mesh on this burst will only make it harder to see whether the motion is right.
A parameter you can change without editing the system
Expose the burst count as a user parameter. Niagara’s user parameters are how the rest of the engine talks to the system. The click path for “promote to parameter” changes, so use the current docs if the parameter panel is empty. Name it clearly, such as BurstCount, and use it in the spawn module instead of a literal.
Save and place the system in a test level by adding a Niagara component to an actor, or by dropping the system in the level if your version allows that. Set BurstCount on the component’s details. Play. You should get one burst, then quiet, if the emitter does not loop.
Looping belongs to the emitter’s life cycle settings. A campfire wants a repeating spawn rate. A hit spark wants one burst when gameplay asks for it. Do not leave a hit spark looping because the template looped. Confirm the loop or once setting in your emitter properties.
When you are ready to spawn it from gameplay, look up the current Blueprint nodes for spawning a Niagara system at a location. Node titles change. Until you find the node that matches your engine docs, triggering the placed component is enough to judge the look. Call it from the same gameplay moment as the sound and the camera shake, or the spark will feel late even if the simulation is fine.
See it in the level before you decorate it
Put the burst at the player’s feet, at a wall hit, and against a bright sky. Effects that only look good on a black preview background fail outside. If the sparks disappear against the sky, they need more contrast or a different color, not more particles.
Turn on whatever lit-sprite or unlit choice your material already has, and look at it in the level’s real lighting. Do not stack extra lights on the effect to hide a bad color curve.
If the arc is wrong, change gravity or the initial velocity, not the spawn count. More particles make a wrong arc into a wrong cloud. If the burst pops at the end, the color is not reaching transparent before the particle dies. Fix the curve.
Keep this system as the parent for later variants. Duplicate it for a smaller UI spark or a larger explosion only after the original still reads at the three distances above. A duplicate of a broken arc is two broken effects.
Collision against the world, ribbon trails, and GPU events are later chapters in the Niagara docs. Add one of them when this burst is already in the game and you can name what is missing. A spark that arcs, fades, and fires once from a parameter is a finished lesson.