Blender Rigging and Animation for Games
You will rig one simple low-poly character with game-friendly deform bones, add an IK leg setup, animate a short walk cycle, and export only what your engine needs.
Film rigs are built for one shot and a patient animator. Game rigs have a different job. They need to play back cleanly in an engine, blend with other animations, and survive export. That means fewer bones, simple hierarchies, and no tricks the engine cannot read.
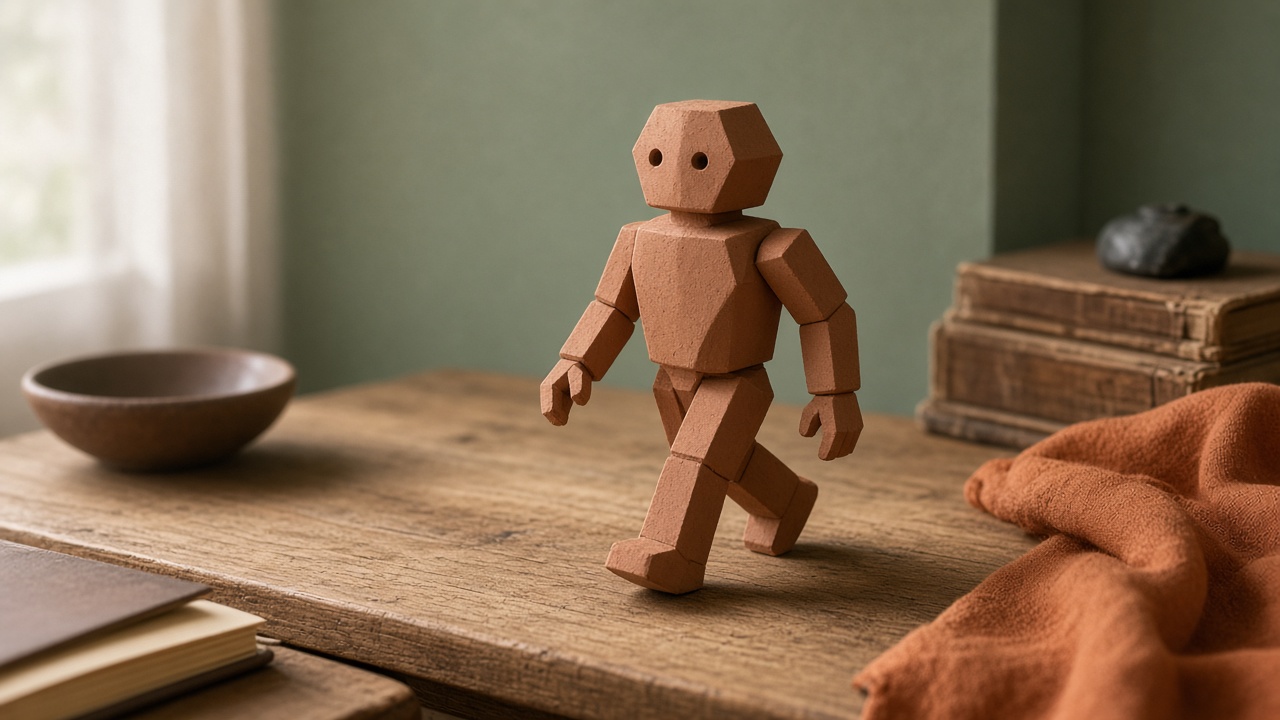
This guide uses a small humanoid character, something like a chunky robot or a stylized villager. The steps work the same on a creature or a simple prop like a door or a chest.
Blender menus and exporter options change between releases. The FBX exporter in particular ships as an add-on. If an option below does not appear, check the official Blender manual for your exact version before guessing.
Prepare the mesh
Rigging problems often start in the mesh. Fix these first:
- Apply all transforms on the mesh. Rotation and scale should be clean before you add bones.
- Face the character along the forward axis your engine expects. Check your engine’s docs, then stay consistent.
- Add extra edge loops at the knees, elbows, and hips. Joints need geometry to bend.
- Put the origin at the feet, centered between them.
Do not guess at scale. Import a simple reference cube from your engine’s units into Blender, or export a test cube the other way. Match your character to that.
Build the deform skeleton
Add an armature at the origin. In Edit Mode, the first bone is your root. Leave it on the ground. Engines often use a root bone for movement and placement.
Extrude bones up through the hips, spine, chest, neck, and head. Then build one arm and one leg. Keep it lean:
- Spine: two or three bones.
- Arm: upper arm, forearm, hand.
- Leg: thigh, shin, foot, and optionally a toe.
- Head: one bone, plus one for the jaw if you need it.
Name bones with a clear left and right suffix, such as thigh.L and thigh.R. Blender’s symmetry tools use those suffixes. Build the left side, then use symmetrize to create the right.
Give the knees and elbows a slight bend in the rest pose. IK solvers need a hint about which way a joint folds. A perfectly straight leg can flip.
Mark deform bones
Only some bones should move the mesh. In Bone Properties, each bone has a Deform setting. Keep it on for the skeleton bones. Turn it off for any helper or control bones you add later, such as IK targets and poles.
This split matters at export. Your engine needs the deform bones. It does not need your controls.
Bind the mesh
Select the mesh, then the armature. Parent with automatic weights from the parent menu. Blender creates vertex groups named after each deform bone and estimates the weights.
Switch to Pose Mode and test. Bend each joint. Look for:
- Vertices left behind when a bone moves.
- The wrong body part moving, like a hand pulling the hip.
- Collapsing volume at the knees and elbows.
Fix problems in Weight Paint mode. For a low-poly game character, keep weights simple. Many vertices can belong fully to one bone. Blend only around joints.
Engines often limit how many bones can influence one vertex. Check your engine’s docs. Blender has a tool to limit weights per vertex, so run it before export if needed.
Add a basic IK leg
Inverse kinematics lets you place the foot and have the shin and thigh follow. The Blender manual describes this as positioning the last bone in a chain while the other bones are placed automatically. That makes walk cycles far easier, because feet stay planted.
For each leg:
- In Edit Mode, add a new bone at the ankle, not parented to the leg. Name it IK_foot.L. Parent it to the root.
- Add a second bone in front of the knee. Name it pole_knee.L. Parent it to the root as well.
- Turn off Deform on both.
- In Pose Mode, select the shin bone and add an Inverse Kinematics bone constraint.
- Set the target to the armature and the bone to IK_foot.L.
- Set the chain length to two, so it affects only the shin and thigh.
- Set the pole target to the armature and pole_knee.L. Adjust the pole angle until the knee points forward.
Move IK_foot.L. The leg should bend toward the pole. Then mirror the setup for the right leg.
Many solo developers parent the foot bone to the IK target or add a rotation constraint so the foot follows it. Keep the foot itself a deform bone.
For arms, simple rotation keys are usually enough in game animation. Add arm IK only if you need hands to stay fixed on something.
Animate one action
In Blender, an action holds a set of keyframes. Your engine will treat each action as one animation clip. Start with a walk cycle.
Open the Dope Sheet and switch to the Action Editor. Create a new action and name it Walk.
Block the walk in four key poses:
- Contact: left foot forward, heel down. Right foot behind.
- Down: weight drops onto the front leg.
- Passing: back leg swings past the standing leg. Body rises.
- Up: body at its highest point before the next contact.
Then mirror those poses for the second half of the step. Make sure the first and last frames match so the loop is seamless.
Animate in place. Keep the root bone still unless your engine uses root motion. Check how your engine handles movement before you choose.
Play it back often. Watch the feet. If they slide, adjust the IK targets. Add a little hip sway and arm swing once the legs feel right.
Mark the action with a fake user so Blender keeps it, even when no object uses it.
Export notes
Your engine needs three things: the mesh, the armature, and the animation. Nothing else.
Before you export:
- Apply transforms on the armature and mesh.
- Make sure the mesh’s armature modifier points to your rig.
- Delete unused actions, or exclude them from export.
- Clear test poses so the rig is in its rest pose.
In the exporter, look for options covering:
- Selected objects only. Select the mesh and armature.
- Object types. Include armature and mesh. Leave out cameras and lights.
- Deform bones only. If your version offers it, use it. Your IK targets and poles stay behind.
- Leaf bones. Some exporters add extra end bones. Most engines do not need them. Check your engine’s docs.
- Bake animation. Constraints like IK do not travel to the engine. Baking turns their result into plain keyframes.
Export, then import into your engine. Check that the character stands at the right size, faces forward, and plays the Walk clip without stretching.
Common problems
Character lies on its back. The axis settings do not match your engine. Fix it in export, not by rotating in the engine.
Mesh explodes during animation. Check for scale applied on the armature, and for vertices with no weights.
Animation plays but feet slide. The IK result was not baked, or the clip was cut at the wrong frames.
Bones missing in the engine. You may have turned off Deform on a bone the mesh depends on.
Next steps
Add an idle and a run as separate actions. Reuse the same rig and the same export settings. A small, clean rig and a short clip list will carry most indie games further than a complex rig you never finish.