Substance Painter for Game Textures
Take one game prop from untextured mesh to engine-ready base color, normal, and roughness maps in Adobe Substance 3D Painter.
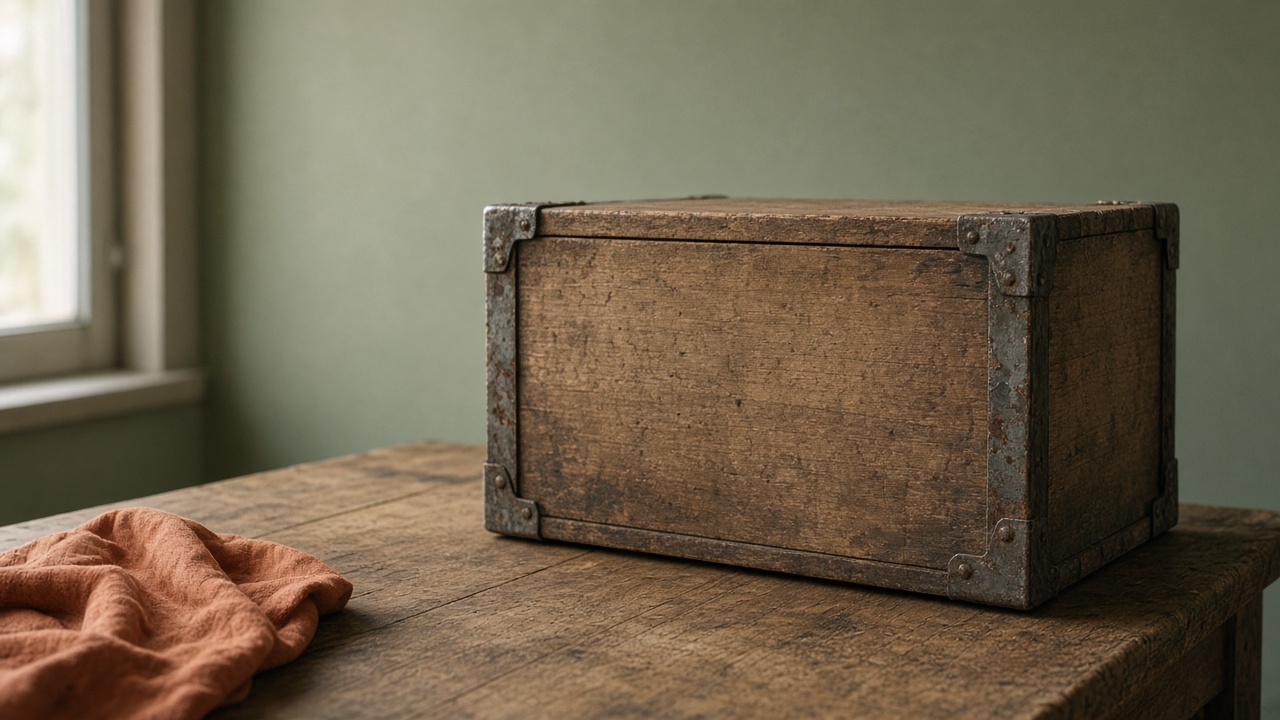
Texturing gets easier when you finish one object all the way. This guide uses a single prop, a wooden crate with metal corners, and runs it through the full loop: bake, base material, edge wear, export.
The tool is Adobe Substance 3D Painter, the current name for what many tutorials still call Substance Painter. Adobe sells it under plans that change over time, so check Adobe’s current plans before you buy.
Panel names and layouts shift between versions. When a step below does not match your screen, look it up in Adobe’s current Substance 3D Painter documentation.
Prepare the mesh before you open Painter
Most texturing problems start in the modeling app. Fix them there.
- Unwrap the UVs cleanly. No overlaps unless you mean to mirror. Leave padding between islands so colors do not bleed.
- Keep one material per texture set. For a crate, one material on the whole mesh is fine. Each material becomes its own texture set in Painter.
- Name your meshes. If you have a high-poly version for baking, give the pair matching names with suffixes such as _low and _high. Painter can match by name, which prevents details from projecting onto the wrong part.
- Triangulate or not, but stay consistent. Your engine will triangulate the mesh anyway. Exporting it triangulated means the normal map is baked against the same triangles the engine draws.
Export the low-poly mesh as FBX or OBJ. Export the high-poly separately if you have one.
Start the project
Create a new project and load the low-poly mesh. Pick a document resolution that matches what the prop will use in game. A crate the player walks past does not need the same texture size as a hero weapon.
You can raise or lower resolution later. Painter works procedurally, so most of your layers will rebuild at the new size.
Choose a project template that matches your target engine’s normal map convention if one is offered. The two common conventions flip the green channel. Getting this wrong makes bumps look like dents. If you are unsure, check your engine’s docs for which convention it expects.
Bake the mesh maps
Painter has a dedicated Baking mode for generating mesh maps from your geometry. Switch to it.
Select your texture set. Then choose the bakers. For a game prop, you usually want:
- Normal, to carry the high-poly detail.
- Ambient occlusion, for contact shadows in corners.
- Curvature, which drives most edge wear effects.
- Position and thickness, which some generators and smart materials use.
- World space normal, which helps with dust and dirt that settle on top surfaces.
In the common settings, set the bake resolution and point Painter at your high-poly mesh. If you have no high-poly, the docs describe an option to use the low-poly mesh as the high-poly source. You still get useful curvature and occlusion that way.
Set the matching mode to use mesh names if you named your parts. Then bake.
Inspect each result before moving on. Look for:
- Jagged or wavy lines in the normal map, which usually mean the cage needs adjusting.
- Dark blotches in occlusion where parts overlap.
- Missing detail where the high-poly sat too far from the low-poly.
Fix the cause and rebake. A bad bake will fight every layer you add.
Lay down a base material
Return to painting. Add a fill layer for the wood and give it a base color, a roughness value, and no metal. Wood is a dielectric, so metallic stays at zero.
Add a second fill layer for the steel corners. Set metallic high and roughness moderate. Mask it to just the corner pieces. If you baked an ID map from vertex colors or material IDs, use it to select the brackets quickly. If not, paint the mask by hand with a polygon fill.
Now add variation. Flat color reads as plastic in a game engine.
- Add a subtle color shift across the planks so each board looks cut from a different part of the tree.
- Vary roughness slightly across the wood surface. Real wood is never one uniform sheen.
- Add a faint grain in the height or normal channel. Keep it soft. Strong grain on a small prop turns to noise at distance.
Check your material under more than one light. Painter lets you rotate the environment light. Spin it while you work so you are not tuning to a single angle.
Add edge wear
Edge wear sells age. It also shows the player the shape of the object.
Painter ships with smart masks and generators that use your baked curvature and occlusion to find edges and crevices. Apply one that targets convex edges to a new layer for the exposed metal or bare wood.
Then make it believable:
- Wear where hands and floors touch. Corners, the top rim, the bottom edge. Not every edge equally.
- Break up the mask. Add a paint layer on the mask and erase wear in a few spots. Uniform wear looks generated.
- Darken the crevices. Use an occlusion-driven mask for dirt between the planks and under the brackets.
- Keep roughness honest. Worn metal is often shinier than painted metal. Grime is often rougher.
Step back to a game-camera distance often. Detail that looks great up close may vanish or turn noisy in play.
Export a set your engine can use
Open the export dialog. Painter uses output templates to decide which maps it writes, how it names them, and how channels are packed.
For a standard metal-roughness setup, you want these maps:
- Base color
- Normal
- Roughness
- Metallic
- Ambient occlusion, if your engine uses a separate AO map
Several engines prefer some of these packed into a single texture’s color channels. Painter includes default output templates for common engines. Pick the one for your engine if it is listed. If you are not sure which template matches your engine version, check both Painter’s export docs and your engine’s material docs before you commit.
Set the file format and bit depth. Normal maps benefit from higher bit depth. Color maps usually do not need it.
Name files with the mesh or texture set name included. Output templates support naming keywords for that. Consistent names make importing much faster.
Test in the engine
Import the mesh and the textures into your engine. Assign them to a material.
Check three things:
- Normal direction. Bumps should catch light from above. If they look inverted, you exported the wrong convention.
- Color space. Base color should be treated as color. Normal, roughness, and metallic usually should not. Your engine’s texture import settings control this.
- Roughness range. If the crate looks wet or chalky, compare it to the Painter viewport under similar light.
Fix one issue, re-export, and test again. Once the crate looks right in your game, save your Painter project as the master. You can come back later and adjust wear without starting over.
Then texture the next prop the same way. Reusing your layers and settings across a set of props keeps your game looking like one world.