GameMaker 2D Platformer Tutorial – Full Game in One Hour
Make a complete one-level platformer in GameMaker with movement, jumping, collisions, a hazard, a goal, and a following camera.
Before you start, here is what “one hour” means in this tutorial. It assumes you have already installed GameMaker and signed in. It assumes you use plain colored rectangles for art. And it assumes one small level. If you stop to draw sprites or design a second stage, it will take longer, and that is fine.
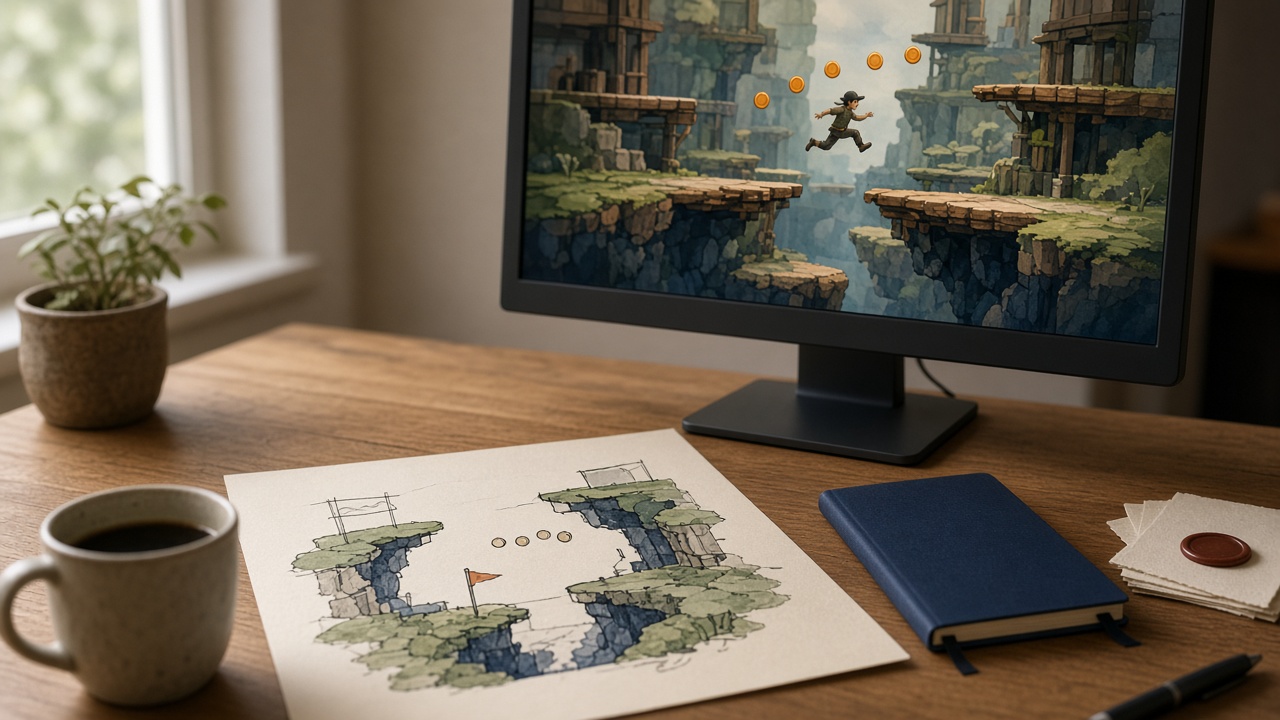
By the end, you will have a player who runs left and right, jumps, lands on solid ground, dies on spikes, and wins at a flag. The camera will follow the player across a level wider than the screen.
Step 1: Create the project
Open GameMaker and start a new project from the blank game template. If GameMaker asks you to choose between GML Visual and GML Code, pick GML Code. This tutorial uses typed code because it is easier to read and copy.
Name the project something like OneHourPlatformer and save it.
GameMaker gives you a starting room, usually called Room1. You will build the whole level there.
Step 2: Make four placeholder sprites
In the Asset Browser, create four sprites. For each one, open the sprite editor and fill the canvas with a single color.
spr_player: 32 by 32, blue.spr_wall: 32 by 32, gray.spr_spike: 32 by 32, red.spr_goal: 32 by 32, green.
For each sprite, set the Origin to Top Left so every object lines up with the room grid the same way. The default collision mask covers the whole rectangle, which is what you want here.
Using identical sizes keeps collision math simple while you learn. You can swap in real art later without touching the code.
Step 3: Create the objects
Create four objects and assign each one its sprite:
obj_playerusesspr_playerobj_wallusesspr_wallobj_spikeusesspr_spikeobj_goalusesspr_goal
The wall, spike, and goal need no code yet. Only the player gets real logic.
Step 4: Set up player variables
Open obj_player, click Add Event, and add a Create event. The Create event runs once when the player appears. Type:
hsp = 0;          // horizontal speed
vsp = 0;          // vertical speed
move_speed = 4;
jump_speed = 10;
grav = 0.5;
These are tuning values, not rules. If the jump feels floaty later, raise grav. If it feels too short, raise jump_speed.
Step 5: Movement, gravity, jumping, and collision
Add a Step event to obj_player. The Step event runs every frame. Type:
// Read input: -1 for left, 1 for right, 0 for neither
var move = keyboard_check(vk_right) - keyboard_check(vk_left);
hsp = move * move_speed;

// Gravity pulls down every frame
vsp += grav;

// Jump only when standing on a wall
var on_ground = place_meeting(x, y + 1, obj_wall);
if (on_ground && keyboard_check_pressed(vk_space)) {
    vsp = -jump_speed;
}

// Horizontal collision
if (place_meeting(x + hsp, y, obj_wall)) {
    while (!place_meeting(x + sign(hsp), y, obj_wall)) {
        x += sign(hsp);
    }
    hsp = 0;
}
x += hsp;

// Vertical collision
if (place_meeting(x, y + vsp, obj_wall)) {
    while (!place_meeting(x, y + sign(vsp), obj_wall)) {
        y += sign(vsp);
    }
    vsp = 0;
}
y += vsp;
Here is the idea behind the collision code, because you will reuse it in every platformer you make.
place_meeting asks, “If I were standing at this position, would I overlap a wall?” Before moving, the player checks the spot it is about to move into. If that spot is clear, it moves the full distance. If not, the while loop moves one pixel at a time toward the wall until the next pixel would overlap, then stops. That way the player ends up touching the wall instead of stopping short or sinking into it.
Horizontal and vertical movement are handled separately. That keeps the player from snagging on corners and lets it slide along floors and walls.
The ground check looks one pixel below the player. If there is a wall there, the player is standing on something and may jump.
Step 6: Build the level
Open Room1. In the room properties, make the room wider than it is tall, such as several screens wide, so the camera has somewhere to go.
Turn on the grid and set it to 32 by 32 so placed objects snap neatly.
In the Instances layer, paint your level:
- Place a row of
obj_wallalong the bottom for the floor. - Leave a gap or two the player must jump over.
- Add a few raised platforms made of walls.
- Put
obj_spikeinstances in at least one gap or on a platform. - Put one
obj_goalat the far end. - Place one
obj_playernear the start, a little above the floor.
Keep it short. You are testing a loop, not shipping a level pack.
Step 7: Hazard and goal
Open obj_player again and add a Collision event with obj_spike. Type:
room_restart();
Touching a spike now resets the level.
Add another Collision event with obj_goal:
show_message("You made it!");
room_restart();
show_message pauses the game with a simple pop-up. It is fine for a prototype. In a real game you would move to the next room or draw a message on screen instead.
Step 8: Make the camera follow the player
Open the room properties and find the Viewports and Cameras section.
- Check Enable Viewports.
- Select Viewport 0 and check Visible.
- Set the camera width and height to the size of the area you want to see, smaller than the room.
- Set the viewport size to the window size you want. Matching the camera size is the simplest start.
- Under Object Following, choose
obj_player.
The horizontal and vertical border values control how close the player gets to the edge of the view before the camera moves. Larger values keep the player closer to the center. A speed of -1 means the camera snaps to follow instantly. GameMaker also keeps the camera inside the room, so you will not see empty space past the edges.
Step 9: Play the room
Click the Run button at the top of the IDE. A game window opens.
Test these, in order:
- Arrow keys move the player left and right.
- Space jumps, but only from the ground.
- The player cannot pass through walls from any side.
- Spikes restart the level.
- The flag shows the message.
- The camera scrolls as you move.
If the player falls through the floor, check that the floor objects are obj_wall and that all sprites have collision masks. If the player sticks inside walls at the start, move it up so it does not begin overlapping anything. If the camera does not move, make sure the viewport is both enabled and visible.
Where to go from here
You now have a full game loop in about a page of code. Good next steps, one at a time:
- Swap the rectangles for real sprites and add a run animation.
- Use
image_xscaleto flip the player to face the direction of movement. - Replace
show_messagewith a second room. - Add variable jump height by cutting
vspwhen the jump key is released early.
Each change is small, and each one makes the game feel more like yours.