Horizon Worlds Creation Guide
Start a small first world in Meta Horizon Worlds with one space, one interactive object, and a clear signal that tells visitors what to do.
Meta Horizon Worlds lets you build a shared 3D space that other people can visit. For a solo creator, the trick is to start small. One room. One thing to touch. One clear prompt.
This guide walks you through that first world. Before you start, know that Meta’s creation tools have been changing quickly, and the right starting point depends on when you read this.
Check which tool you should use
Meta’s tooling for Horizon Worlds has shifted over the past few years. Here is what Meta’s own announcements and creator posts describe as of this writing:
- The Worlds Desktop Editor is a Windows PC application for building worlds. It supports importing 3D models, images, and sounds, and scripting with TypeScript.
- In-headset VR creation tools were deprecated in favor of the desktop editor.
- Horizon Worlds has shifted toward mobile and web. Meta has announced that publishing new VR worlds is no longer supported and that worlds are aimed at the mobile app and the web.
- Newer tools are rolling out. Meta has announced Horizon Studio and Horizon Create, built on its Horizon Engine, with early access sign-ups.
That is a lot of change. Before you install anything, open Meta’s current Horizon Worlds creator documentation and confirm three things: which editor new creators should use, which platforms a new world can publish to, and what the account requirements are.
The steps below describe the Desktop Editor workflow. If Meta’s current guide points you to a different tool, follow that guide. The design advice still applies.
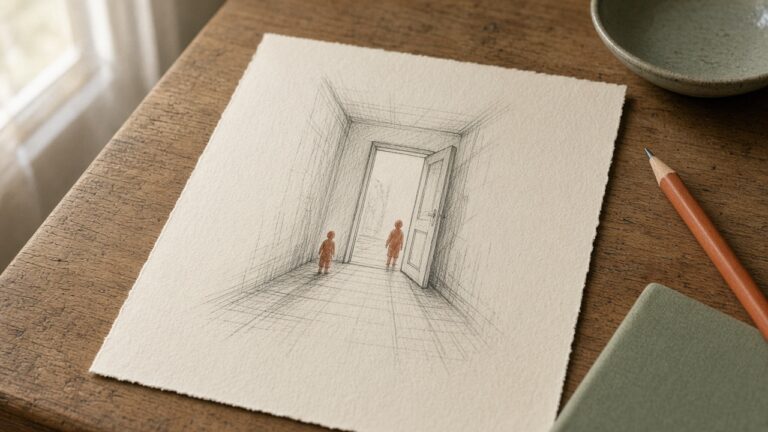
Plan the world on paper
Write one sentence that describes what a visitor does. Keep it concrete.
- “Walk in, ring the bell, and watch the room light up.”
- “Find the glowing button and open the door.”
That sentence sets your space, your object, and your signal. Everything else waits for a later version.
Sketch the layout. Mark where visitors arrive, where the interactive object sits, and what they see first. The object should be visible from the arrival point. If visitors have to search for it, many will leave before they find it.
Create a new world
Install the Desktop Editor from Meta’s official creator site and sign in with your Meta account. Create a new world from the editor’s starting options.
If the editor offers templates, a simple empty or starter template is a good choice. It gives you ground and a sky without extra objects you will need to delete.
Look for the world’s spawn point. This is where visitors appear. Meta’s docs describe a spawn point gizmo for this. Make sure there is exactly one for now, and move it to the arrival spot on your sketch.
Preview the world early. The editor includes a way to play your world from inside the editor. Walk around and get a sense of scale before you build anything.
Build one space
Keep the space small enough that visitors can see most of it from where they spawn. A courtyard, a single room, a clearing.
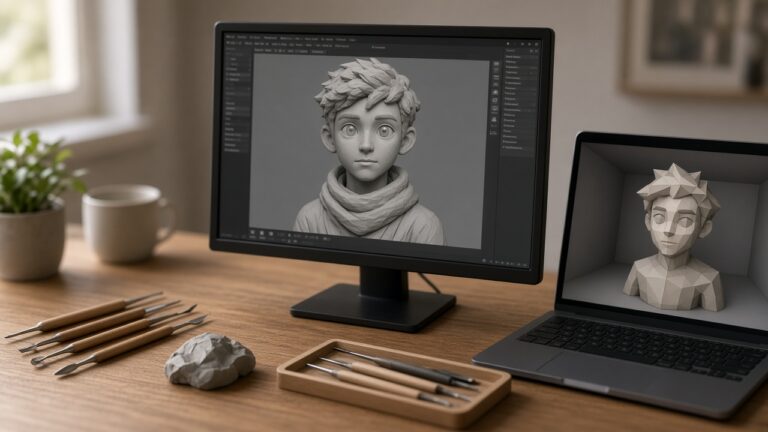
Build it from simple shapes first. Walls, floor, a few blocks for structure. Hold off on detailed models until the layout works.
As you build, check three things:
- Scale. Walk up to a wall in preview. Does it feel the right height? Doorways that feel tight on a desktop screen may feel worse on a phone.
- Sight lines. From the spawn point, can you see the interactive object? If not, move it or open the space.
- Boundaries. Can visitors wander off the edge or get stuck? Close the space or add soft walls.
If you want custom art, the Desktop Editor supports importing 3D models. Check the current docs for supported formats and size limits before you model anything.
Add one interactive object
Pick one object and one response. A bell that rings. A button that opens a door. A lever that turns on lights.
The Desktop Editor uses gizmos for many behaviors. Meta’s documentation describes a trigger gizmo, which detects when a player enters an area. That is often the simplest way to start: place a trigger around the object and respond when a visitor walks into it.
For the response itself, the Desktop Editor uses TypeScript. You attach a script to an entity, and the script listens for events and reacts. The general shape:
- Place the object and a trigger area around it.
- Attach a new script to the trigger.
- In the script, listen for a player entering the trigger.
- When that happens, play a sound, show the object lighting up, or move a door.
Meta’s TypeScript tutorial covers how to set up a script component, define properties you can set in the editor, and connect events. Follow the current version of that tutorial for exact syntax. The scripting API has versions, and code from an older post may not match your editor.
Keep the first script small. Get one event producing one visible change. Test it in preview. Then add sound or a second effect.
Tell visitors what to do
A visitor who arrives and does not know what to do will usually leave. Your world needs a signal.
Use more than one, in layers:
- Placement. Put the object in the center of the view from the spawn point.
- Light. Make the object the brightest thing in the scene, or give it a glow.
- Motion. A gentle bob or spin draws the eye.
- Words. Add a short line of text near the object. Meta’s docs describe a text gizmo for in-world text. Three or four words is plenty. “Ring the bell” works.
- Path. Shape the floor or lighting so it leads from the spawn point to the object.
Then test the signal with someone who has never seen the world. Ask them to join, say nothing, and watch where they go. If they walk past the object, strengthen the signal and test again.
Remember that many visitors may arrive on phones or the web. Check that text is readable and the object is easy to reach with touch or mouse controls. If the editor lets you preview on different devices, use it.
Publish and watch
When the world works end to end, follow Meta’s current publishing steps. Publishing options, visibility settings, and content rules are set by Meta and change over time, so read the current creator guide before you publish.
Start with limited visibility if the option exists. Invite a few people. Watch them play if you can.
Write down:
- Where they spawned and what they looked at first.
- How long it took them to find the object.
- Whether the response was clear.
- What they tried that did nothing.
Change one thing based on what you saw. Republish. Test again.
What comes next
Once your one-object world works, you can grow it:
- A second interactive object that depends on the first.
- A simple goal, like finding three hidden items.
- Custom models to replace the gray shapes.
- Ambient sound to make the space feel alive.
Add one at a time. Test each one. And keep checking Meta’s creator docs as you go, because the tools are still moving.