Godot 4.x 3D Game Development Guide
Make one small 3D space in Godot 4 with meshes, light, a camera, and a door that opens, then stop while it still feels good.
Your first 3D project should be small enough to finish in a weekend. Not a world. Not a dungeon generator. One room, one light, one camera, and one thing the player can do.
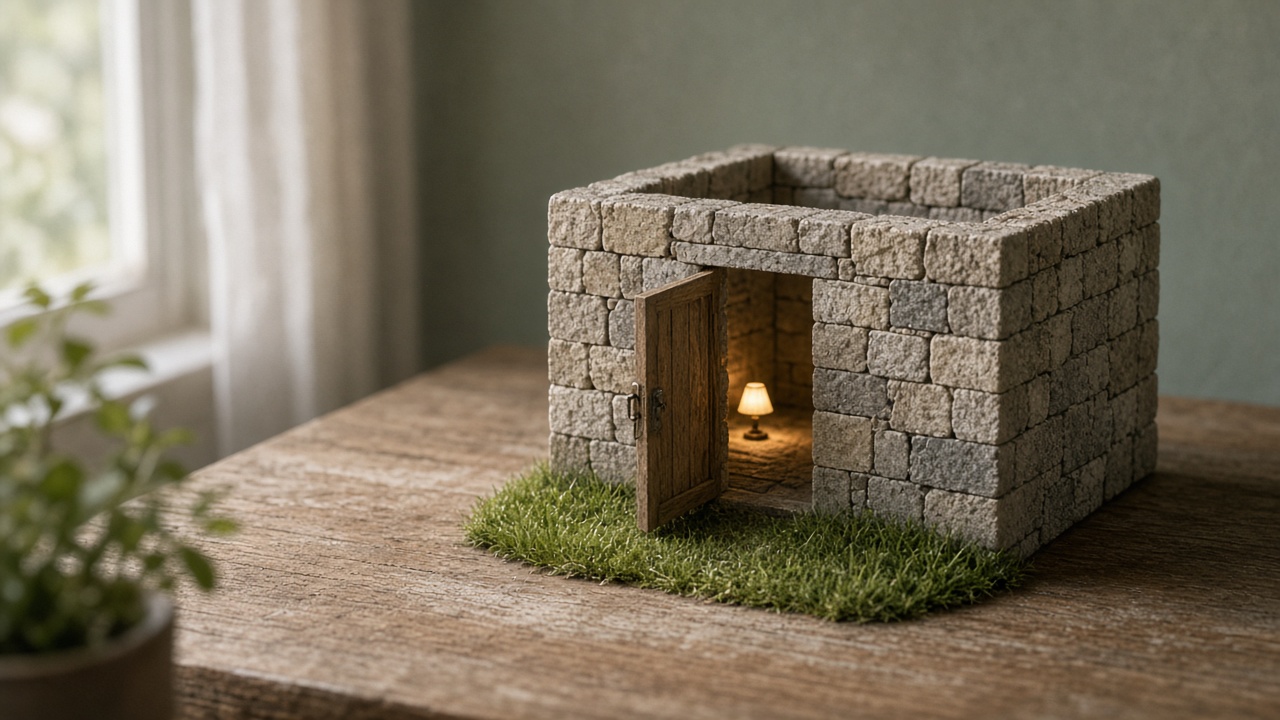
This guide builds that room in Godot 4. You will place meshes, give them collision, light the space, frame it with a camera, and make a door swing open when you press a key. When the door opens, you are done.
Godot 4 keeps evolving across minor releases. If a menu item or property name below does not match your editor, check the current Godot 4 class reference before you trust a forum post or an old video.
Plan the room on paper first
Before you open the editor, sketch the space from above. A rectangle with one doorway is enough. Mark where the light sits and where the camera looks from.
Decide your scale now. Godot treats one unit as roughly one meter, so a room a few units across and a door a bit taller than a person will read correctly. Wrong scale is the most common reason a first 3D scene feels off.
Keep the list short:
- A floor
- Four walls, one with a gap
- A door that fits the gap
- One light
- One camera
Anything else goes on a “later” list.
Set up the project and the root node
Create a new project. Pick the renderer the current docs recommend for desktop 3D. If you are unsure, the default is fine for a room this size.
Create a new scene and choose a 3D scene root. That gives you a Node3D, the base node for anything with a position, rotation, and scale in 3D space. Rename it Room and save it as room.tscn in a scenes/ folder.
Every object in this guide is a child of Room. That keeps the whole space movable and easy to reopen.
Build the floor and walls
Add a StaticBody3D as a child of Room and name it Floor. Static bodies are for things that do not move but should block other things.
Under Floor, add two children:
- A
MeshInstance3D, which draws geometry - A
CollisionShape3D, which defines the solid shape physics uses
Select the MeshInstance3D and assign a new BoxMesh in its mesh property. Make it wide and deep but thin, like a slab. Select the CollisionShape3D and give it a BoxShape3D with the same size.
The mesh is what you see. The collision shape is what you hit. They are separate on purpose, and forgetting the second one is a classic mistake.
Duplicate Floor to make walls. Resize each copy into a tall, thin box and move it to an edge. For the doorway wall, use two shorter wall pieces with a gap between them, plus a piece above the gap if you want a lintel.
Take your time lining up edges. Switch to the top orthographic view to check that corners meet. Small gaps look worse in 3D than you expect once light hits them.
Give surfaces some material
Gray boxes are fine for testing, but a little color helps you read the space. Select a wall’s MeshInstance3D, find its material override, and create a new StandardMaterial3D.
Change the albedo color. Try a warm tone for walls and a darker one for the floor. You can add textures later. For now, contrast is the goal: the floor, walls, and door should look like different things.
Save the material as a resource file so you can reuse it on every wall. Edit one file and all the walls update.
Light the space
Add a light. You have two sensible choices for a first room:
DirectionalLight3Dacts like the sun. Its direction matters, not its position.OmniLight3Dacts like a bulb. It shines in all directions from one point and fades with distance.
For an indoor room, an OmniLight3D near the ceiling feels natural. For a small outdoor space, a DirectionalLight3D angled low gives long shadows. Turn on shadows in the light’s properties so objects feel grounded.
Add a WorldEnvironment node and give it a new Environment resource. This controls background, ambient light, and tone. A sky resource such as ProceduralSkyMaterial gives you a quick outdoor backdrop. Keep ambient light low indoors so your one lamp does the work.
If the room looks flat, move the light before you add another one. One well-placed light teaches you more than three random ones.
Frame the shot with a camera
Add a Camera3D as a child of Room. Position it in a corner, a little above head height, angled down toward the doorway.
Press the button to preview through the camera and adjust until the door sits clearly in view. The player should understand the goal of the room the moment it loads.
Make sure this camera is set as current. If a scene has more than one camera, Godot needs to know which one to use.
This guide uses a fixed camera on purpose. A walking body is a separate task, and post 190 covers that movement slice on its own.
Build the door with a hinge
A door rotates around its edge, not its center. You fix that with a parent node that acts as the hinge.
Add a Node3D under Room and name it DoorHinge. Move it to one side of the doorway gap, at floor level. This point is where the door will pivot.
Under DoorHinge, add a StaticBody3D named Door, with its own MeshInstance3D and CollisionShape3D. Use a box mesh sized to fill the gap. Then offset Door sideways so its edge lines up with the hinge point.
Rotate DoorHinge in the editor to test. The door should swing like a real door. If it spins around its middle, the offset is wrong.
Add an interact action
Open Project Settings and find the input map. Add an action named interact and assign a key you like. Using an action name instead of a raw key means you can rebind it later without touching code.
Input-map layout can shift between versions, so if you cannot find it, search the current manual for “InputMap.”
Script the door
Attach a script to DoorHinge:
extends Node3D

@export var open_angle := 90.0
var is_open := false

func _unhandled_input(event: InputEvent) -> void:
    if event.is_action_pressed("interact"):
        toggle()

func toggle() -> void:
    is_open = not is_open
    var target := open_angle if is_open else 0.0
    var tween := create_tween()
    tween.tween_property(self, "rotation_degrees:y", target, 0.6)
When you press your interact key, the hinge rotates smoothly to the open angle. Press again and it closes. A Tween animates the property for you, so you do not need to write the motion by hand.
If the door swings the wrong way, make open_angle negative in the inspector. That is why it is exported.
If you later add a character that pushes against a moving door, read the docs on AnimatableBody3D, which is designed for bodies moved by script or animation.
Test, then stop
Set room.tscn as the main scene and run the project. Check these things:
- The room loads and the doorway is visible.
- The light casts shadows that make sense.
- Pressing the interact key opens and closes the door smoothly.
- Nothing flickers where walls meet.
If all four pass, you have a finished 3D scene. Commit it to version control or copy the project folder somewhere safe.
What to do next
Resist the urge to expand this room right away. Instead, pick exactly one next step:
- Add a walking body using the movement slice in post 190.
- Wrap the door’s script in an
Area3Dso it only opens when someone stands near it. Thebody_enteredsignal tells you when that happens. - Swap the boxes for a few simple models you made yourself.
Each of these is small. Do one, test it, and save. That habit will carry you through every 3D project after this one.