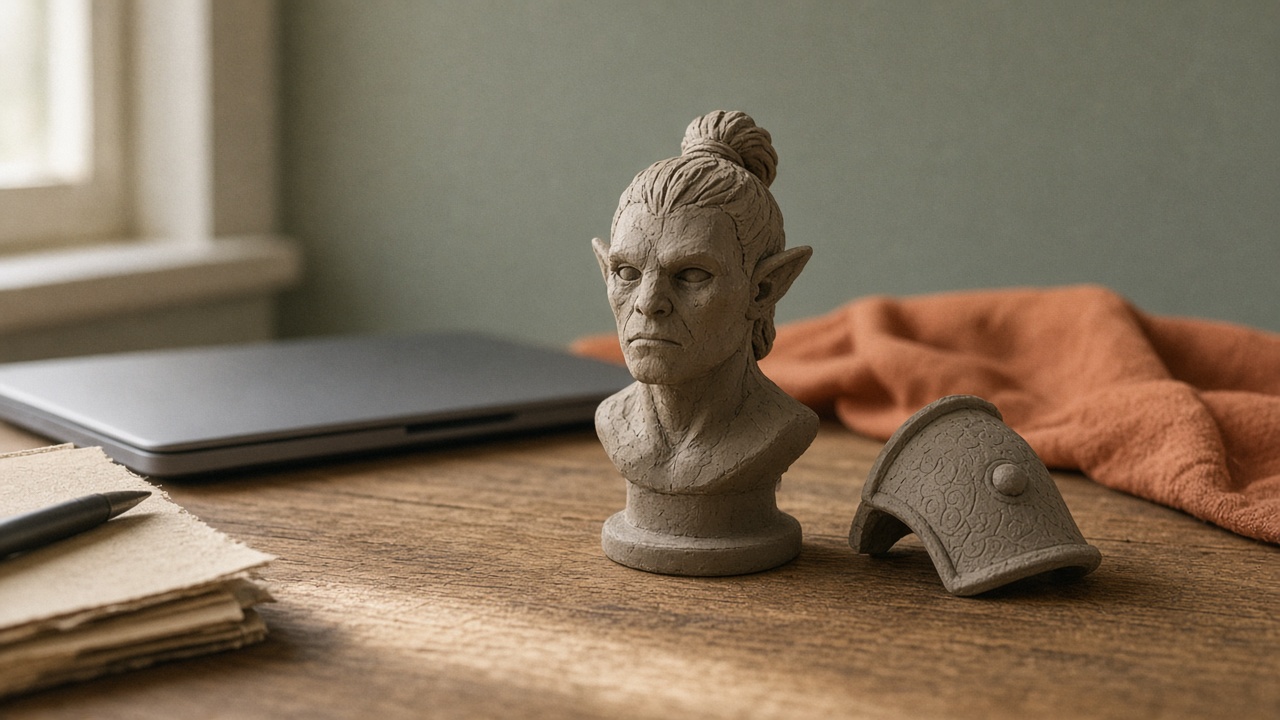
Advanced ZBrush Techniques for Game Characters
Take a game character past the clean blockout stage in ZBrush with deliberate secondary forms, separate hard-surface and organic workflows, non-destructive layers and noise, and a map handoff your engine can use.
You already know the basic loop: DynaMesh blockout, big forms, subdivision levels, then a low-poly mesh and a normal map. This guide covers the middle and late stages, where solo-made characters either come together or turn into disconnected detail.
Menu paths below come from Maxon’s ZBrush documentation. Interfaces change between releases, so if a button is not where you expect, search the Maxon docs for your version.
Step 1: Design your secondary forms on purpose
Secondary forms sit between the big masses and the surface texture: muscle groups, cloth folds, armor edges, the bags under the eyes. They make a character read as anatomy instead of a smooth toy.
Plan them before you sculpt. Pick a few rules and apply them everywhere:
- Overlap. Decide which form sits on top. A forearm muscle wraps over the elbow; a strap lies over the tunic. Make the top form slightly fuller and give the lower form a soft shadow line where they meet.
- Rhythm. Alternate straight and curved edges, large and small shapes.
- Direction. Cloth folds should point back toward a pull point, such as a belt or a bent knee.
Work at a low or middle subdivision level so you shape forms, not polygons. The Clay Tubes brush works well for laying in muscle and fold volume.
When you want to refine the creases between forms without touching the forms themselves, try Tool > Masking > Mask By Cavity. It builds a mask from the recessed areas of the model. Its Blur and Intensity controls soften or harden the result.
Step 2: Treat hard surface and organic as different jobs
Most characters mix skin and cloth with armor, buckles, and weapons. Sculpting a crisp metal plate with your cheek brushes gives wobbly edges.
Split them first. Put each hard-surface piece on its own SubTool so you can change its topology and settings without affecting the body. Then use these tools to keep edges sharp.
PolyGroups plus creasing. Give each panel of an armor piece its own PolyGroup. Then open Tool > Geometry > Crease. Maxon’s docs describe crease options that work by PolyGroups or by unmasked surfaces, and a CreaseLvl setting that controls at which subdivision level creased edges begin to smooth. Creases keep edges sharp as you subdivide without adding edge loops.
Dynamic Subdivision. Under Tool > Geometry > Dynamic Subdiv, the Dynamic button previews a subdivided surface while you keep editing the light base mesh. The docs describe three modes, QGrid, Flat, and Smooth, that you can mix. Each one multiplies the displayed polygon count, so mixing all three gets heavy fast.
Planar, Trim, and Polish brushes. For freehand hard-surface work on a dense mesh, Maxon documents three families. Planar brushes flatten material above the point where you start the stroke, and Planar Cut sets an angle and depth that the Planar brush can then extend. Trim brushes behave similarly but follow the surface or screen plane more freely. Polish brushes smooth and flatten toward a polished-metal look. In Brush > Samples, the Preserve Edge setting helps these brushes avoid rounding off edges you want to keep.
The organic SubTools stay in your normal subdivision workflow, so metal looks like metal and skin stays soft.
Step 3: Put detail on 3D Layers
Once secondary forms are settled, stop sculpting fine detail straight into the base. Use Tool > Layers.
Maxon’s docs explain the essentials:
- Create new layers at the top subdivision level.
- A new layer starts in Record mode, shown by the REC label. Sculpting, Polypaint, and masking changes go onto that layer while it records.
- Click REC again to stop recording. You need to be back at the top level to do that.
- The eye icon hides a layer, and the Intensity slider changes the strength of what it recorded.
A practical stack is one layer for wrinkles and pores and one for damage. Dial the damage down for a clean variant or up for a battle-worn one, from one sculpt. Turning the fine layer off also shows you whether the character still reads at gameplay distance without it.
When you are sure, the docs describe a way to bake a single layer into the mesh using Tool > Morph Target: store a morph target with the layer showing, delete the layer, then switch the morph target. The docs warn that Polypaint and masking on that layer are lost in this method, so handle color first.
Step 4: Add procedural surface with Surface Noise
Hand-sculpting skin or cloth texture over a whole character is slow. Tool > Surface > Noise applies procedural noise instead.
Key points from the docs:
- The noise starts as a non-destructive preview. You can change or remove it at any time.
- Noise Scale sets how large the pattern is. Strength sets how strong it looks. A Noise Curve reshapes its profile.
- The NoiseMaker interface offers further settings.
- Apply To Mesh turns the preview into real geometry. The result is only as good as your mesh resolution, so subdivide enough first.
- The docs note that Quick 3D Edit must be on in the Transform palette for the noise to display.
Mask areas such as the eyes and lips so noise stays where you want it.
Step 5: Polypaint for color you can transfer later
Polypaint stores color on the vertices of your sculpt, so you do not need UVs or a texture size yet. Maxon’s getting-started steps are:
- Make sure the mesh has enough polygons for the detail you want to paint.
- Turn on Colorize in Tool > Polypaint.
- Turn off Zadd or ZSub so painting does not sculpt.
- Turn on Rgb and set RGB Intensity to 100.
Use it for a base color pass or for color ID regions you will use as masks in a texturing tool. You can transfer it to a map once your final UVs exist.
Step 6: Hand off cleanly to the game mesh
The goal is a low-poly mesh with good UVs and a set of maps baked from the sculpt.
UVs. ZBrush includes UV Master in the Zplugin palette. The docs say to run it at the lowest subdivision level. It can use your PolyGroups to guide seams, and its Control Painting feature lets you steer where seams go. If your low-poly mesh came from another application with UVs already made, keep those UVs. The Multi Map Exporter docs describe a route for this: store a morph target at level 1, import the original mesh, and turn on the Switch MT option before exporting maps.
Maps. The Multi Map Exporter plugin automates creating and exporting maps, and it can also export the mesh as OBJ. Its map options include displacement, vector displacement, normal, ambient occlusion, cavity, and texture from Polypaint. A few settings matter most for games:
- Normal Map with Tangent on gives a tangent-space map, the type game engines commonly use. FlipG flips the green channel if lighting looks inverted.
- Map Size sets one size for every map. Setting it to zero uses each SubTool’s own UV map size instead.
- With SubTools on, maps export for visible SubTools. Merge Maps combines SubTools that share the same UV space into one map.
Ambient occlusion and cavity maps are useful texturing inputs. Bake displacement only if your engine’s shader uses it. The docs warn that pressing Esc to force the plugin to quit can lose your UVs, so save first.
Check it in the engine
Import the low-poly mesh and maps and view the character under game lighting and camera distance. Toggle the normal map off and on. If an important secondary form vanishes, it may need to live in the low-poly silhouette instead.
Separate SubTools, PolyGroups, layers, and procedural noise all buy you the same thing: the ability to change your mind late without starting over.